Deliciously Easy Banana Pudding with Condensed Milk
Growing up in the South, banana pudding with condensed milk was more than a dessert. It was a cherished memory that brought generations together. Every family gathering was filled with the excitement of this creamy treat.
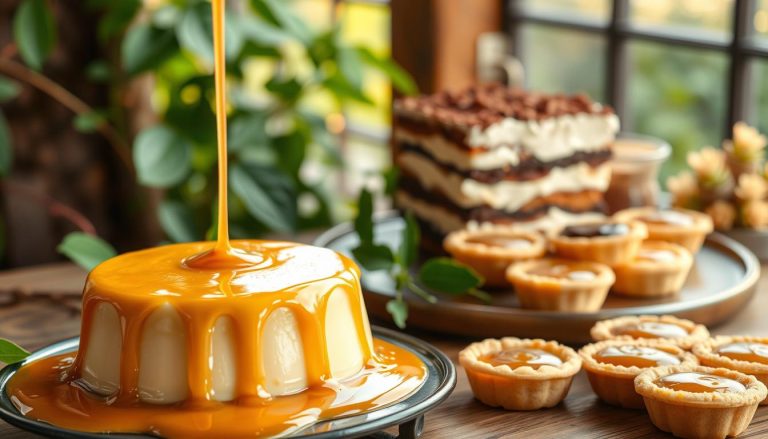
Banana pudding with condensed milk is a perfect mix of simplicity and comfort. It combines rich pudding, fresh bananas, and crisp vanilla wafers. The secret? Condensed milk makes it smooth and luxurious.
Whether you’re an experienced baker or new to the kitchen, this recipe will impress everyone. You’ll learn to make a dessert that’s both nostalgic and delicious.
Table of Contents
Understanding the Magic of Banana Pudding with Condensed Milk
Banana pudding is more than a sweet treat in American cuisine. It’s a story of tradition, creativity, and comfort. A banana pudding recipe with condensed milk turns a simple dessert into a special experience that brings families together.
The story of banana pudding starts in Southern American kitchens. It was a creative way to use ripe bananas and simple ingredients. Families layered bananas, vanilla wafers, and creamy pudding to make a dessert loved at gatherings.
History of Traditional Banana Pudding
Banana pudding’s roots go back to the late 1800s. Southern cooks mixed soft cookies, fresh bananas, and custard for a magical dessert. The addition of condensed milk made it even sweeter and creamier.
- Originated in Southern United States
- Developed in late 1800s
- Became a family favorite during social gatherings
Why Condensed Milk Makes a Difference
Condensed milk adds a special touch to banana pudding. Its thick, sweet nature makes the pudding silky smooth. Unlike regular milk, it adds depth and richness, making each bite indulgent.
“Condensed milk is the secret weapon that turns a good banana pudding into an unforgettable dessert.” – Southern Cooking Traditions
Cultural Significance in American Desserts
Banana pudding is more than a recipe; it’s about Southern hospitality and family traditions. It stands for comfort, sharing, and the art of home cooking. Each layer shares a story of creativity and love passed down through generations.
Your banana pudding recipe with condensed milk can become a cherished family tradition. It connects you to a rich culinary heritage that celebrates simple ingredients and delicious memories.
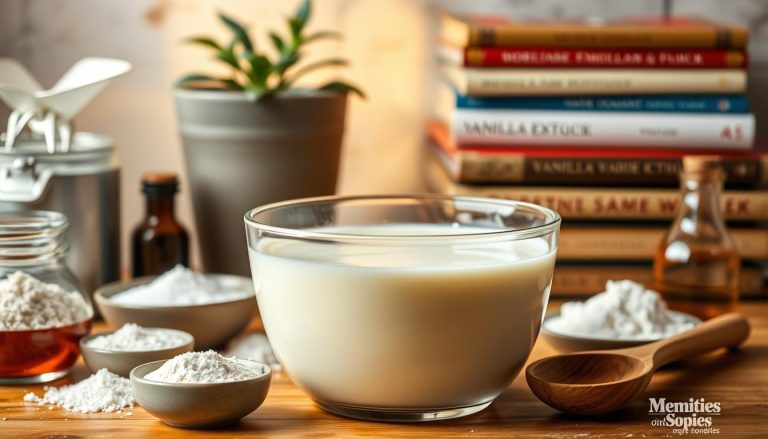
Essential Ingredients for Perfect Banana Pudding
To make a tasty homemade banana pudding, you need the right ingredients. Choosing high-quality items is key. They help create a creamy, dreamy dessert.
Here are the main ingredients you’ll need:
- Ripe bananas – Fresh, yellow bananas with minimal brown spots
- Sweetened condensed milk – The secret to rich, creamy texture
- Vanilla wafers – Classic cookies for layering
- Heavy whipping cream
- Vanilla extract
- Egg yolks
- Granulated sugar
- Cornstarch
- Salt
The quality of your ingredients affects your banana pudding’s taste. Condensed milk adds a unique sweetness and smoothness. It turns a simple dessert into a special treat.
“Great desserts start with great ingredients” – Pastry Chef Wisdom
When picking bananas, choose ripe ones but not too soft. They should be bright yellow with few brown spots. This ensures the best flavor and texture.
Every ingredient is important for the perfect banana pudding. Condensed milk adds richness, bananas bring natural sweetness, and vanilla wafers add a delightful crunch. Together, they make this dessert unforgettable.
Kitchen Tools and Equipment You’ll Need
To make banana pudding with condensed milk, you need the right tools. They make cooking smooth and fun. With the right equipment, your dessert will impress everyone.
Before starting, collect these key tools. They’ll make cooking easier.
Required Baking Dishes
- 9×13 inch glass baking dish
- Clear serving trifle bowl
- Ceramic casserole dish
- Individual ramekins for personal servings
Mixing and Measuring Tools
When making banana pudding, precision is important. Choose these tools for the best results:
| Tool Category | Recommended Items |
|---|---|
| Mixing Bowls | Stainless steel nested set |
| Measuring Tools | Liquid and dry measuring cups |
| Whisks | Balloon whisk and flat whisk |
| Spatulas | Silicone spatula for folding |
Optional Equipment for Professional Results
For even better banana pudding, use these tools:
- Stand mixer for smooth pudding base
- Pastry piping bag for decorative layers
- Kitchen torch for caramelizing toppings
- Offset spatula for perfect layering
Good kitchen tools make banana pudding amazing. With the right tools, your dessert will look and taste like a pro’s.
Selecting and Preparing the Perfect Bananas
Choosing the right bananas is key for a tasty banana pudding. The right banana can make your dessert amazing.
For your pudding, pick bananas that are ripe but not too ripe. Look for bananas with yellow skin and small brown spots. These bananas are sweet and have the perfect texture.
- Choose bananas with yellow skin and light brown speckles
- Avoid completely green or completely brown bananas
- Select medium-sized bananas for consistent slicing
To prevent browning, slice bananas just before you make your pudding. This keeps them looking fresh and prevents them from turning brown.
| Banana Ripeness Stage | Best Use in Pudding | Flavor Profile |
|---|---|---|
| Green | Not Recommended | Starchy, Bland |
| Yellow with Green Tips | Limited Use | Slightly Tangy |
| Fully Yellow | Perfect Choice | Sweet, Soft |
| Yellow with Brown Spots | Excellent | Intense Sweetness |
Pro tip: To stop browning, brush sliced bananas with lemon juice. This trick keeps your banana pudding looking great.
Making the Condensed Milk Pudding Base
Making the perfect banana pudding with condensed milk needs care and precision. The pudding base is the dessert’s heart. It turns simple ingredients into a creamy, luxurious treat that will wow your taste buds.
To make a smooth and rich pudding base, follow some key steps. These steps can make your banana pudding go from good to amazing. Knowing how to mix, control temperature, and get the right consistency is key to a top-notch dessert.
Professional Mixing Techniques
Mixing is key when making banana pudding with condensed milk. Here are some essential techniques:
- Whisk ingredients gradually to prevent lumps
- Use a silicone whisk for smooth blending
- Incorporate ingredients at room temperature
- Mix in a steady, circular motion
Temperature Control Secrets
Temperature is crucial for the perfect pudding base. The right heat makes the pudding smooth and creamy without burning.
| Temperature Stage | Recommended Action |
|---|---|
| Initial Heating | Medium-low heat, constant stirring |
| Thickening Phase | Reduce heat, watch for gentle bubbling |
| Final Setting | Remove from heat, continue stirring |
Achieving Perfect Pudding Consistency
The ideal banana pudding with condensed milk should be smooth and velvety. It should coat the back of a spoon without being too runny or thick. With practice and patience, you’ll get this balance right.
- Stir continuously to prevent burning
- Test consistency by coating a spoon
- Allow pudding to cool and set naturally
- Refrigerate to enhance thickness
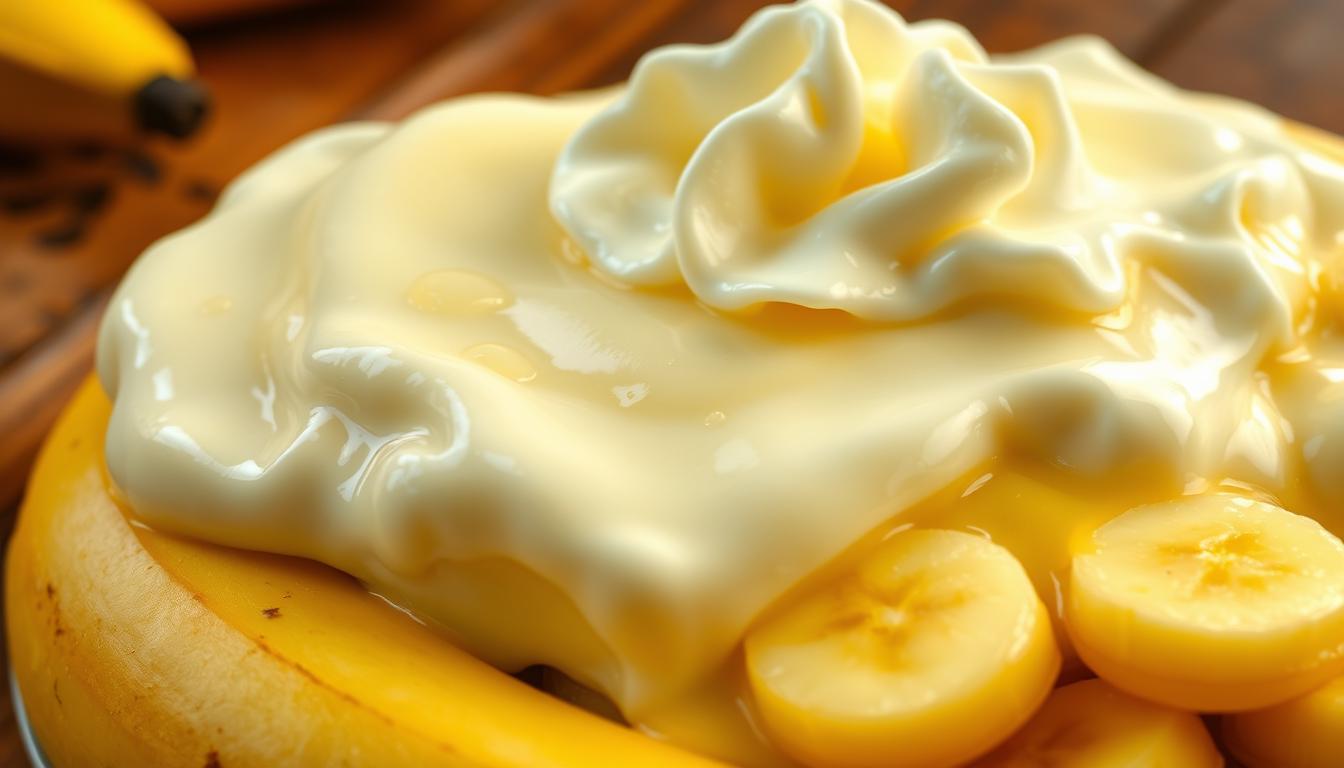
Layering Techniques for Picture-Perfect Results

Making a stunning banana pudding with condensed milk is an art. It’s not just about mixing ingredients. The key is mastering the layering technique.
Start with a clear glass dish to show off your layers. This lets each part of your banana pudding stand out. It makes a dessert that’s as pleasing to see as it is to eat.
- Begin with a thin layer of vanilla wafers at the bottom of the dish
- Spread a generous layer of condensed milk pudding
- Add sliced fresh bananas in an even layer
- Repeat the layers until the dish is full
The secret to a perfect banana pudding is even layers. Use the back of a spoon to press each layer gently. This removes air pockets and makes the surface smooth.
Pro tip: Cut bananas just before layering to prevent browning. If you’re making the dessert ahead of time, sprinkle a little lemon juice on the banana slices. This keeps them fresh and bright.
Every layer tells a story of flavor and texture in your banana pudding!
To make your banana pudding Instagram-worthy, top it with whipped cream and crumbled vanilla wafers. Your dessert will not only taste amazing but also look incredible.
Tips for Working with Vanilla Wafers
Vanilla wafers are key in making a homemade banana pudding recipe. They add the perfect texture and flavor. This makes your dessert go from good to amazing.
When picking vanilla wafers for your banana pudding, keep these tips in mind:
- Choose crisp, fresh cookies with a rich vanilla flavor
- Look for name-brand options like Nabisco Nilla Wafers
- Check expiration dates for maximum freshness
- Consider organic or gluten-free alternatives if needed
Selecting the Perfect Vanilla Wafers
Not all vanilla wafers are the same. For your banana pudding, pick cookies that stay crunchy. Freshness is key to preventing soggy layers.
Storing Your Vanilla Wafers
Proper storage keeps your vanilla wafers fresh and crunchy:
- Store in an airtight container
- Keep away from humid environments
- Use within 2-3 weeks of opening
- Refrigeration is not recommended
Pro tip: If your wafers lose their crispness, briefly toast them in the oven at 350°F for 3-5 minutes. This will make them crunchy again for your banana pudding.
Common Mistakes to Avoid When Making Banana Pudding
Making the perfect banana pudding with condensed milk needs careful attention. Many home bakers face common mistakes that can ruin this classic dessert.
To make your banana pudding a hit, avoid these key errors:
- Overripe Bananas: Pick bananas that are just ripe. Too ripe bananas can make your pudding taste bitter and look bad.
- Incorrect Layering: Layering is key. Mix vanilla wafers, sliced bananas, and pudding in the right order to keep it tasty and not soggy.
- Pudding Consistency: Get the right pudding thickness by stirring constantly and controlling the heat. Runny or lumpy pudding can mess up your dessert.
“The secret to great banana pudding is patience and precision.” – Southern Cooking Experts
Keeping the right temperature is crucial for your banana pudding’s success. Chill it quickly to stop bacteria growth and keep the flavor good. Let it rest for at least two hours before serving to blend the flavors.
Choosing the right wafers is important too. Pick high-quality vanilla wafers that stay crunchy and match the creamy pudding. Old or soggy wafers can ruin the dessert’s taste.
- Avoid pre-slicing bananas too early
- Use fresh ingredients
- Chill thoroughly before serving
Knowing these common mistakes helps you make banana pudding that’s truly amazing. It will impress everyone every time.
Storage and Serving Recommendations
Your banana pudding recipe with sweetened condensed milk needs careful storage. This keeps its flavor and texture perfect. It ensures everyone enjoys it.

Knowing the best storage tips is key. It keeps your banana pudding creamy and fresh.
Optimal Storage Conditions
Follow these storage tips to keep your banana pudding great:
- Refrigerate it right after making
- Use a tight-fitting airtight container
- Keep it at 35-40°F for freshness
- Eat it within 2-3 days for the best taste
Presentation Tips for Special Occasions
Make your banana pudding stand out with these serving ideas:
- Use clear glass dishes to show off the layers
- Add fresh banana slices just before serving
- Top with crushed vanilla wafers for crunch
- Try individual serving cups for a fancy look
| Storage Method | Duration | Quality Preservation |
|---|---|---|
| Refrigerated (Covered) | 2-3 Days | Excellent |
| Room Temperature | 2 Hours | Not Recommended |
| Freezer | 1-2 Weeks | Good (Texture May Change) |
Pro tip: Always add fresh banana slices just before serving to prevent browning and maintain the pudding’s visual appeal.
Variations and Creative Twists
Your classic banana pudding with condensed milk doesn’t have to be boring. Try different variations to make it exciting. Simple changes can turn this traditional dessert into a fun adventure.
Let’s explore some tasty twists for your banana pudding with condensed milk:
- Chocolate Lover’s Dream: Mix in cocoa powder or melted chocolate for a rich taste
- Tropical Remix: Add diced pineapple or mango for a fruity twist
- Nutty Crunch: Sprinkle toasted pecans or almonds for extra crunch
- Seasonal Spin: Try seasonal fruits like strawberries or blueberries
For those who love presentation, here are some ideas:
- Individual mason jar servings
- Trifle-style layered presentation
- Frozen banana pudding pops
- Banana pudding parfaits
Want to try new flavors? Here are some exciting combinations:
| Base Flavor | Creative Addition | Recommended Garnish |
|---|---|---|
| Classic | Salted Caramel | Caramel Drizzle |
| Chocolate | Raspberry Swirl | Fresh Raspberries |
| Vanilla | Coconut Flakes | Toasted Coconut |
The secret to amazing banana pudding with condensed milk is to keep the core recipe. But also let your creativity shine. Don’t be afraid to try new things and make your own unique dessert!
Troubleshooting Your Banana Pudding Recipe
Making the perfect banana pudding with condensed milk can be tricky. Even skilled bakers face issues that affect the dessert’s texture and taste. Spotting problems early helps make a tasty banana pudding every time.
Common banana pudding problems come from how you handle ingredients and your technique. Here are some tips to make sure your banana pudding is amazing:
- Runny Pudding: If your pudding is too thin, you might need to adjust the cornstarch or cooking temperature. Cook it until it’s like a custard.
- Lumpy Texture: Avoid lumps by whisking constantly while cooking. Also, use a fine-mesh strainer when mixing ingredients.
- Watery Bananas: Pick bananas that are slightly firm and ripe. Slice them just before you assemble the pudding to avoid browning and extra liquid.
Temperature is key in your banana pudding recipe with condensed milk. Use room-temperature ingredients and don’t overheat the mixture. Gently mix the ingredients to keep it smooth and creamy.
How you store your pudding also matters. Refrigerate it right after making and eat it within 2-3 days for the best taste and texture. Cover the top with plastic wrap to stop skin from forming and keep it fresh.
Pro tip: Practice makes perfect! Don’t get discouraged if your first try isn’t perfect.
Conclusion
Making homemade banana pudding with condensed milk is more than a dessert. It’s a way to connect with a beloved Southern tradition. You’ve learned to turn simple ingredients into a creamy, nostalgic treat that everyone loves.
Your skills in picking the right bananas, making a silky pudding, and layering ingredients will help you in the future. This recipe is versatile, letting you try new things while keeping the comfort food feel that everyone loves.
Remember, practice makes perfect. Every time you make this dessert, you’ll get better and add your own special touch. Whether it’s for a family event, a potluck, or just for yourself, your banana pudding is a delicious part of American culinary history.
Enjoy baking and keep exploring traditional desserts. Your banana pudding skills are now a wonderful part of your cooking skills.